
Almost all Gen Z makeup users love a bit of contour. There’s no five-minute face for these expert-level makeup users. It’s part of their everyday makeup kit just like how almost all elder Millennials tried white eyeliner and blue lipstick back in the 90s. As you can imagine, washed-out eyelashes and deathly-shade blue lipstick wasn’t exactly the youthful and healthy look of “no makeup” makeup looks today.
Personally, as a mid-thirty-something elder Millennial, I tried the all-over bronzer phase of the early 2000s, I often skipped the foundation and caked-on a load of ivory powder without any skin prep (flake central), and opted for non-trendy Snow White-esque bright pink cheeks practically to my eyelids and my ears, and I didn’t get on board with contouring on the odd special occasion until recently. That is to say that I’ve never really closely followed any makeup trends, but I wish I had. There’s no doubt that contouring has a transformative effect on faces and when done well, looks absolutely gorgeous, and when done badly, well, let’s just say streaks of unblended “mud” on the face is not exactly a good look. It doesn’t so much make your cheekbones pop as make people wonder if you put your makeup on in the dark.
So, when did #countouring become a thing, the thing it is today?
The history of contouring
Contouring may seem to have been popularised by Kim Kardashian, starting in 2008, but contouring is centuries old.
The 1550s to the 1900s
Contouring, surprisingly, began back in the Elizabethan age when stage actors would contour their faces with chalk and soot so that spectators far away could see their facial expressions. By the 1800s and into the 1900s, contouring was still relegated to performers on stage but the techniques were adapted to suit artificial stage lighting. In a nutshell, gas lighting hit stages in Drury Lane and Covent Garden in the 1800s and a new type of artificial light had been developed by 1820 where a gas flame was used to heat a cylinder of quicklime to an incandescent temperature. Then the light was reflected in lenses which is where the term “in the limelight” came from as techniques evolved around 1837 and were popular throughout the 1860s and beyond. Then, the electrical light came in, which framed the way for modern lighting advances. By this point, as the theatre was relegated indoors, actors used greasepaint instead to emphasise their facial expressions on stage.
The 1920s to the 1950s
Contouring then moved to the black and white film era of the 1920s and ’30s. Actresses like Vivien Leigh, from Gone With The Wind, subtly contoured their cheekbones to make them more prominent on-screen. Since there was neither colour nor high definition on screen then, makeup artists didn’t need to worry about if their on-screen makeup looked clownish and exaggerated in real life, offscreen.
Max Factor was the first cosmetics company to cash in on the fact that many women wanted to look like their favourite stars so, in the 1920s, he invented the word “make-up” and introduced a palette of “Society make-up” to the general public, where women could make up their faces to look like movie stars.
In 1932, Max Factor built a “Beauty Calibrator” to measure the dimensions of a person’s face to determine how to use shading to create the “perfect” facial ratios.
By 1935, Max Factor had developed the Pan-Cake make-up, similar to popular compact styles that were popular in the ’90s to ’00s. The Pan-Cake was designed to look good on and off camera – and was introduced for general retail to the masses. Some of the make-up ads for these campaigns featured popular stars at the time like Rita Hayworth, Ginger Rogers, and Judy Garland.
So, you could say that the first mass consumption contouring came out in 1935. Today’s equivalent brands are like Sephora bestsellers, Becca highlighters and Anastasia Beverly Hills contour palettes.
Here’s a video of how Max Factor’s first makeup palettes and pan-cakes worked.
The 1960s to the 1970s
By the 1960s and 1970s when “youth” was valued and clothing was bright, makeup tended to focus on the youth and by the end of the ’60s with the advent of influential new theories in feminism, women returned to casual dress styles to reflect their equality with men. The glamorous, chic looks of the ’50s evolved into an early hippy style by the mid-70s. In these decades, contouring was out of vogue and “natural” looks were in fashion.
The 1980s to the 1990s
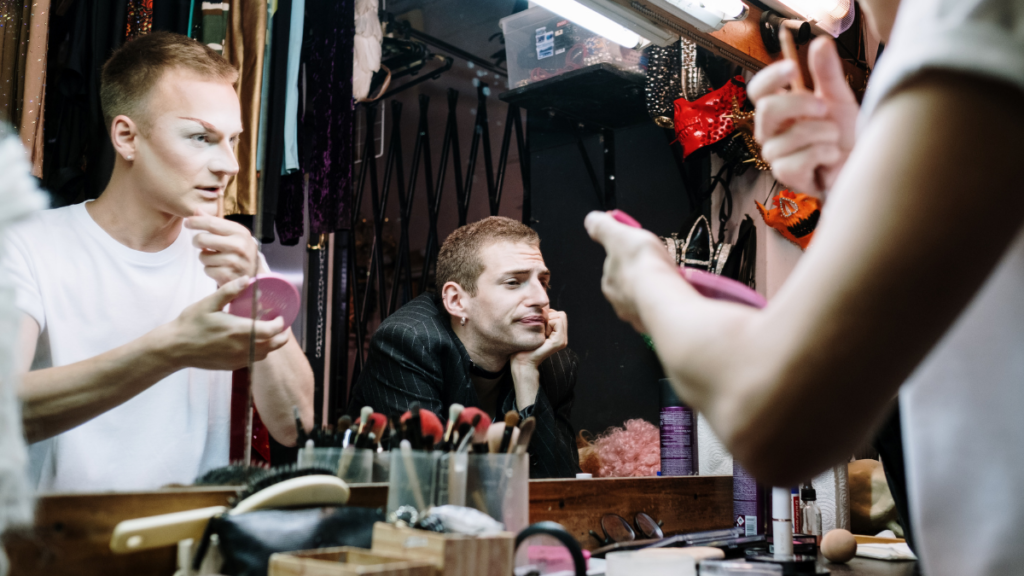
But by the ’80s and ’90s, the trend was revived by drag queen culture to soften more masculine features to create feminine features through contouring. These trends were eventually picked up by mainstream fashion but not until the 2000s.
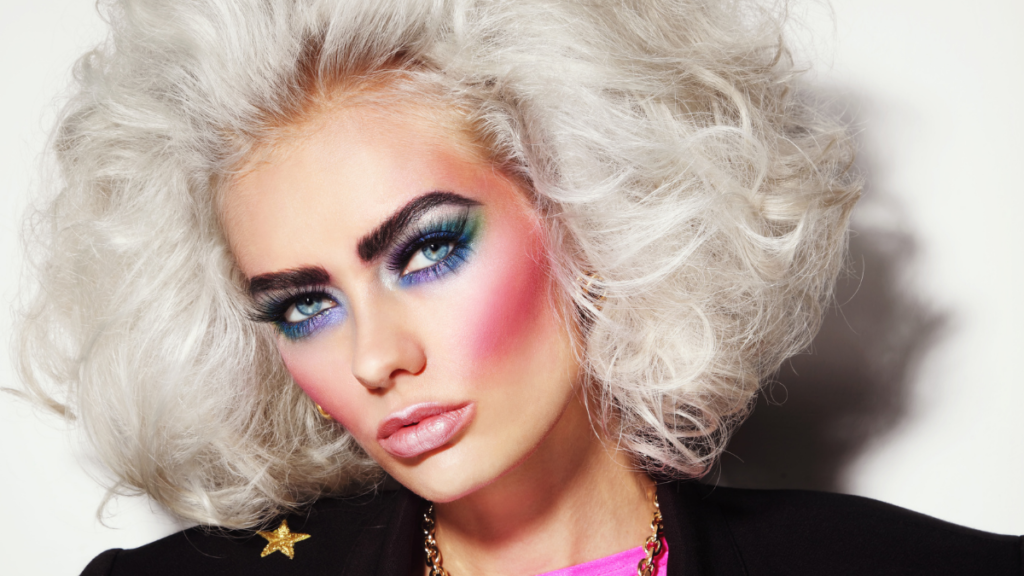
Before contouring came back into the fashion, socialites like Paris Hilton and Snooki favoured the all-over bronzer look with frosty lipstick, thin brows, blue eyeshadow, and fake tan.
The early 2000s to present
By September 2008 as Paris Hilton’s former assistant, Kim Kardashian became a household name, she is credited with popularising not only contouring but highlighting as well. And the rest, they say, is history.
Check out this video of Kim Kardashian West having her contour applied using cream products first and then powder products on top. The makeup artist explains how to define the cheeks and thin out the nose. He explains the techniques used and how they change the face to give the desired effect.
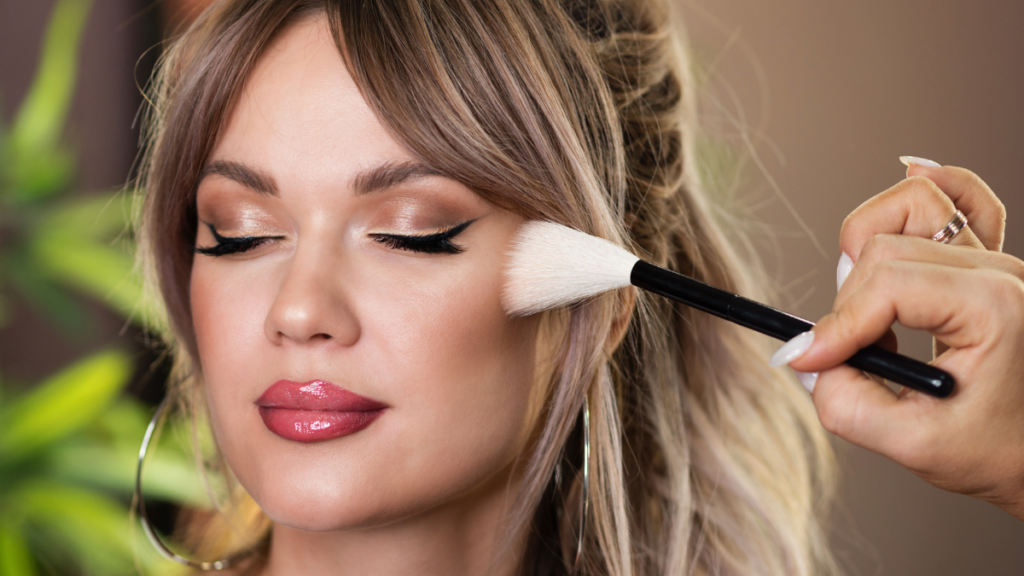
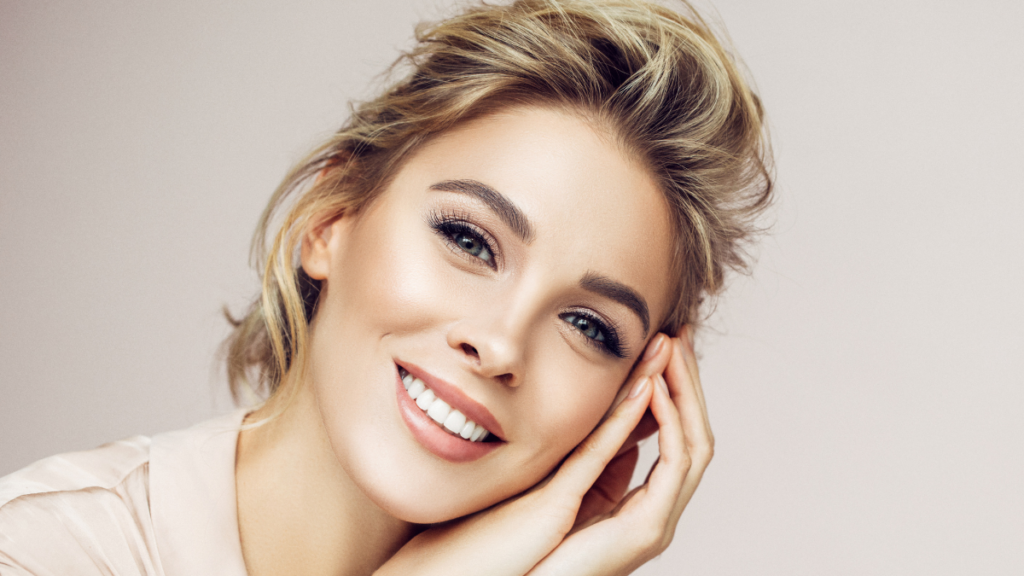
Face sculpting seems to have become a mainstay for Instagram, TikTok, YouTube, fashion magazines, and young people everywhere. If you want to stay on-trend and know how to contour properly (like I now do), here’s our contouring: a beginner’s guide.
How to contour: choosing your products
Before contouring and applying any foundation or concealer, you need to decide if you’re using powder products or cream products (or both).
Both products look different on the face and can give different finished looks but powder products can have a drying effect which means a cream primer and skin prep is often recommended.
- Prime your skin
- Apply a foundation base
- Contour with cream or powder products
How to contour: a beginner’s guide
#1 Prime your skin
The first step to any makeup look is preparing your skin. Wash, tone, exfoliate, and moisturise your face as usual so that you don’t have makeup clumps sticking to any dry patches.
A primer product is optional but primer is recommended because it acts as a protective layer and buffer between your skincare products and your makeup products. With primer, both will last longer.
Wayne Goss, one of Tria Beauty’s collaborators, has an excellent video all about skin prep.
#2 Apply a foundation base
Even your skin town with a little bit of foundation or concealer in a shade that matches your natural skin tone and undertone. Cover any blemishes or discolouration.
Gone are the days of taking a glob of full-coverage foundation and applying it in a single shade from forehead to chin and from ear to ear. The new technique is to apply your foundation in thin layers as needed. You may only need to apply foundation to your t-zone with blemish touch-ups around your chin or you may only need it in the central part of your face and blend out.
Keep everything beautiful and natural.
Check out Wayne Goss’s video on how to apply foundation like a pro.
#3 Contour with cream or powder products
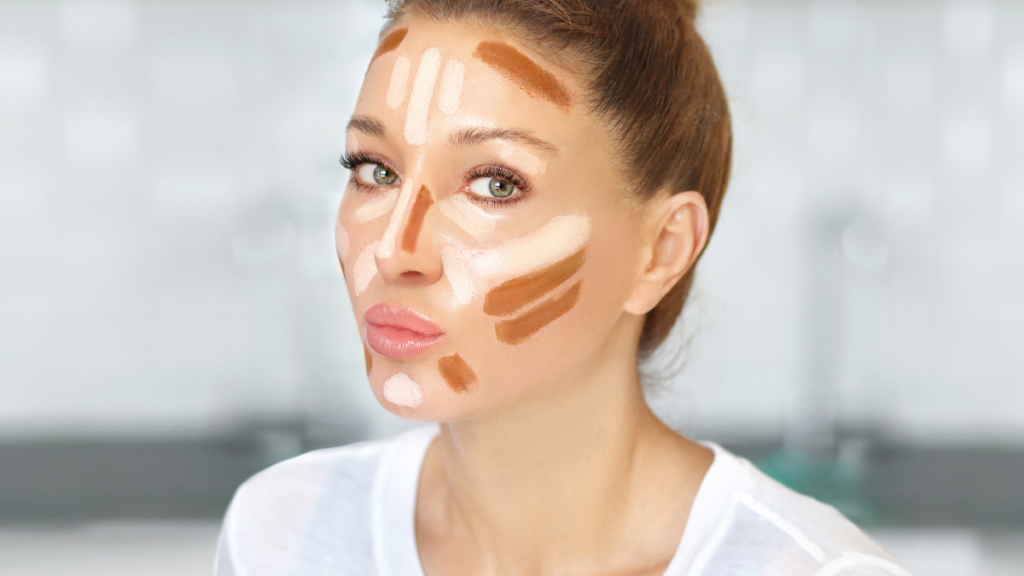
At a basic level, contouring is applying shadow and light to the face – as you would a painting.
Shadowing: An easy way to apply shadow is to take a darker shade than your skin and shadow under your cheekbones. Suck in your cheeks and trace along the hollows, following the natural shape of your jawline to the temple. It’s popular to contour along the side of your nose, use a number “3” shape following your hairline, under the cheekbone, and the jawline, and along the cheekbones. Experiment with your face shape and dimensions and try to find ways to sculpt your face that works for you.
Here’s a contouring/shadowing tutorial to follow.
Highlighting: Highlighting is the opposite of contouring in that you take a lighter shade to highlight areas of the face that naturally reflect light such as your forehead, the bridge and tip of the nose, the top of the cheekbones, the cupid’s bow, around the eyes, and on the brow bone under the eyebrow. Seems like a lot to remember but you’ll get the hang of it. Generally, people use a creamy concealer under the eyes and a more sparkly illuminator for the cheekbones, above the lips, and brow bone, but have a play around with what looks good on your face.
Here are some of Goss’s tips on what not to do and what to do when it comes to highlighting.
Applying blusher: It isn’t necessary to add blush to the apples of your cheeks in a highlighting and contouring look but it does make your look appear more natural, so swipe on a little rosiness to look more natural.
Blending: So that you’re not stuck with a “muddy” look and streaks of light and dark patches on your face, blending is key to a natural contouring and highlighting look. You can use a large fluffy brush, a blending brush, or a beauty blending sponge (wet and wrung out) to blend your contour until it looks natural.
Setting your look: Apply a setting powder or setting spray for a flawless finish.
If you want to know how to do a fully flawless contouring and highlight look, check out this video.
The takeaways
You may not want to contour your face daily – as it does require multiple steps – but for those extra special date nights, girls’ nights, or any time you know you’ll be photographed, you might want to perfect your routine. Let us know on Tria’s social media if you contour every day or if you save it for special occasions. Are there any tips or tricks that you’d love to share?